Tuesday, May 15, 2012

Building Handplanes 01: A Lifetime's Supply

    To me, tool making is at the heart of craft. Craft is communication; communication between yourself and your medium, whether that medium is wood, clay, fiber, computer code, paint, sound, or stone. And the tools you use, how you use them, and your relationship with them will guide you in your communion with the medium.  

    The most basic tools you have, the basic building blocks of craft, are your senses and your hands. With these tools, you are able to craft more tools, more specialized tools, more instruments to play.  In the end you may build yourself an orchestra of tools or maybe you are interested in just having a few fine instruments. Either way, the closer you can get to your instruments, the more intimate and fulfilling your work.

    I have built some planes in the past, and I found it very satisfying. In this series of posts I hope to document and share my building of a new set of handplanes from scratch.


My father cut down a large red oak tree about a year ago.
He left me a few logs from near the base of the tree that I quartered.
Now I am splitting these quarters into blanks for the planes I plan to build.


The tools needed to split wood are basic. Wedge and Hammer.
Splitting wood is faster than cutting with a saw and yields stronger wood
(albiet not as true)


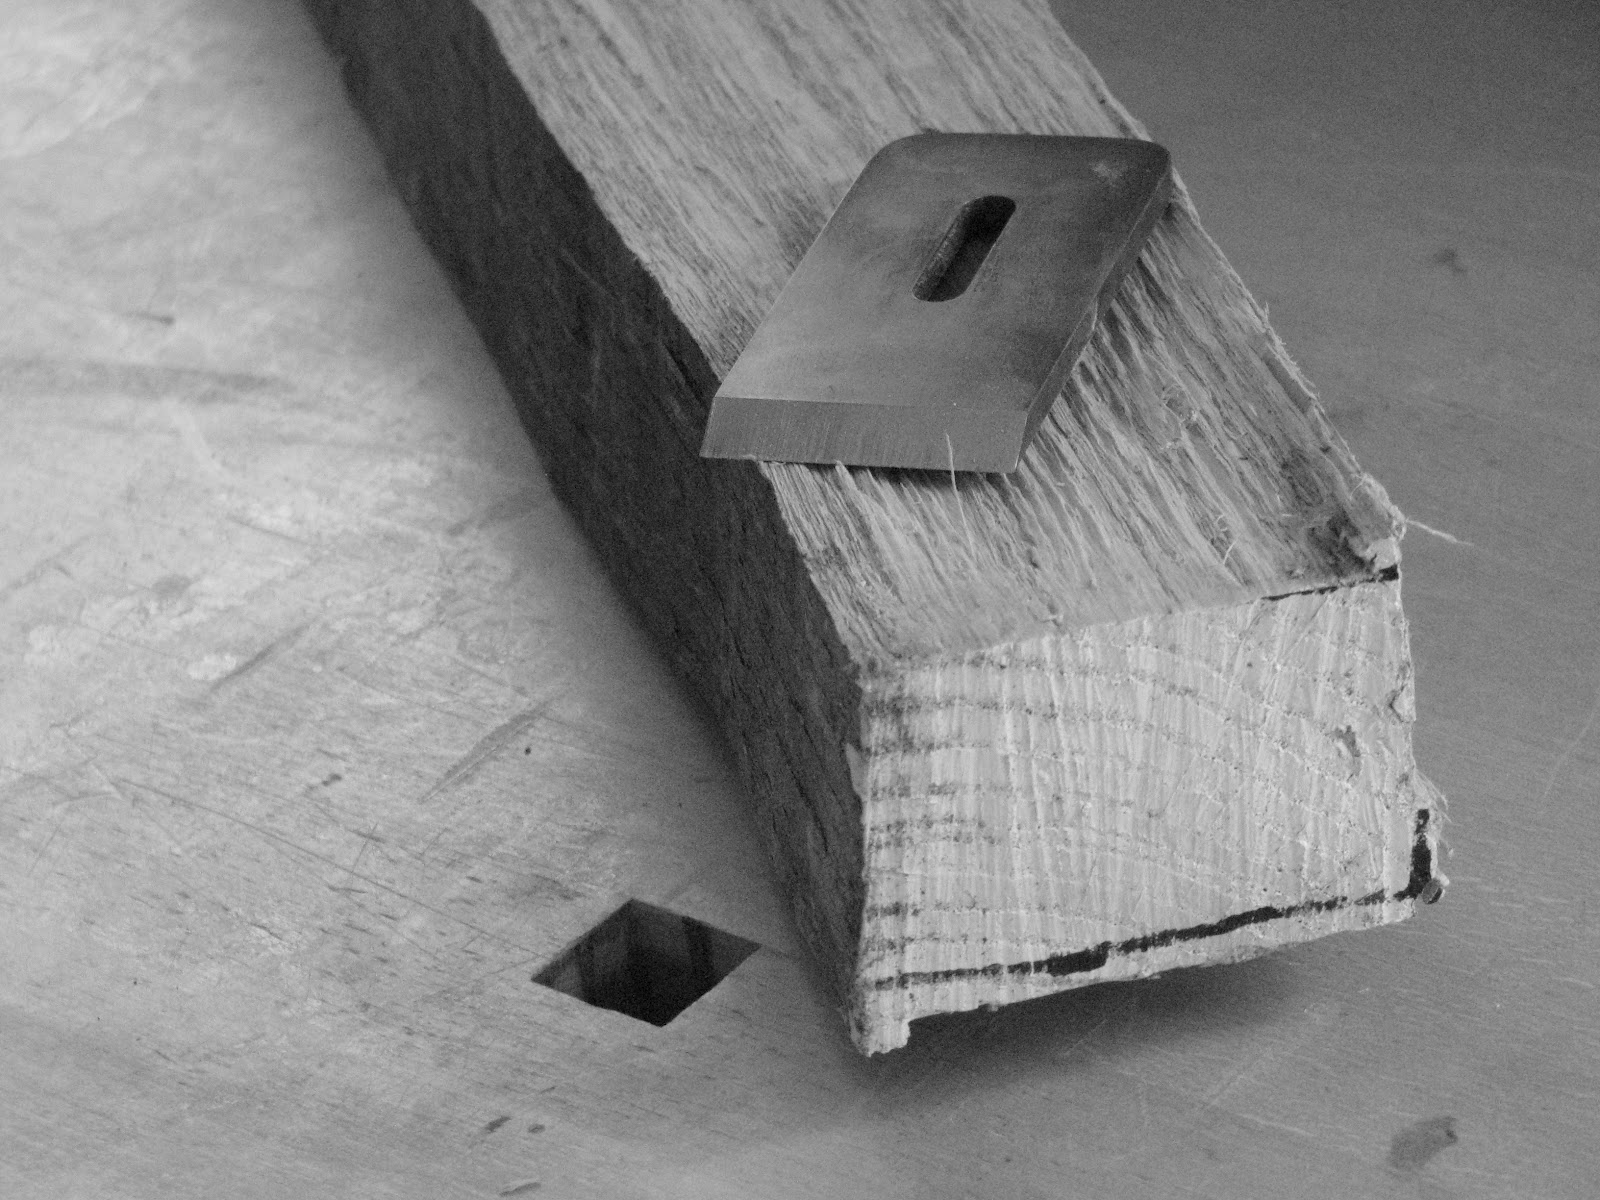
Laying out the plane blanks.  
Simple 3" squares should accommodate the types of planes I plan on building.


Simply start the wedges on the line and work the wedges in tandem. 


 Oak is very easy to split if the wood is clear.


Here are all the blanks I split from the log pictures above. 
It only took an hour or so.


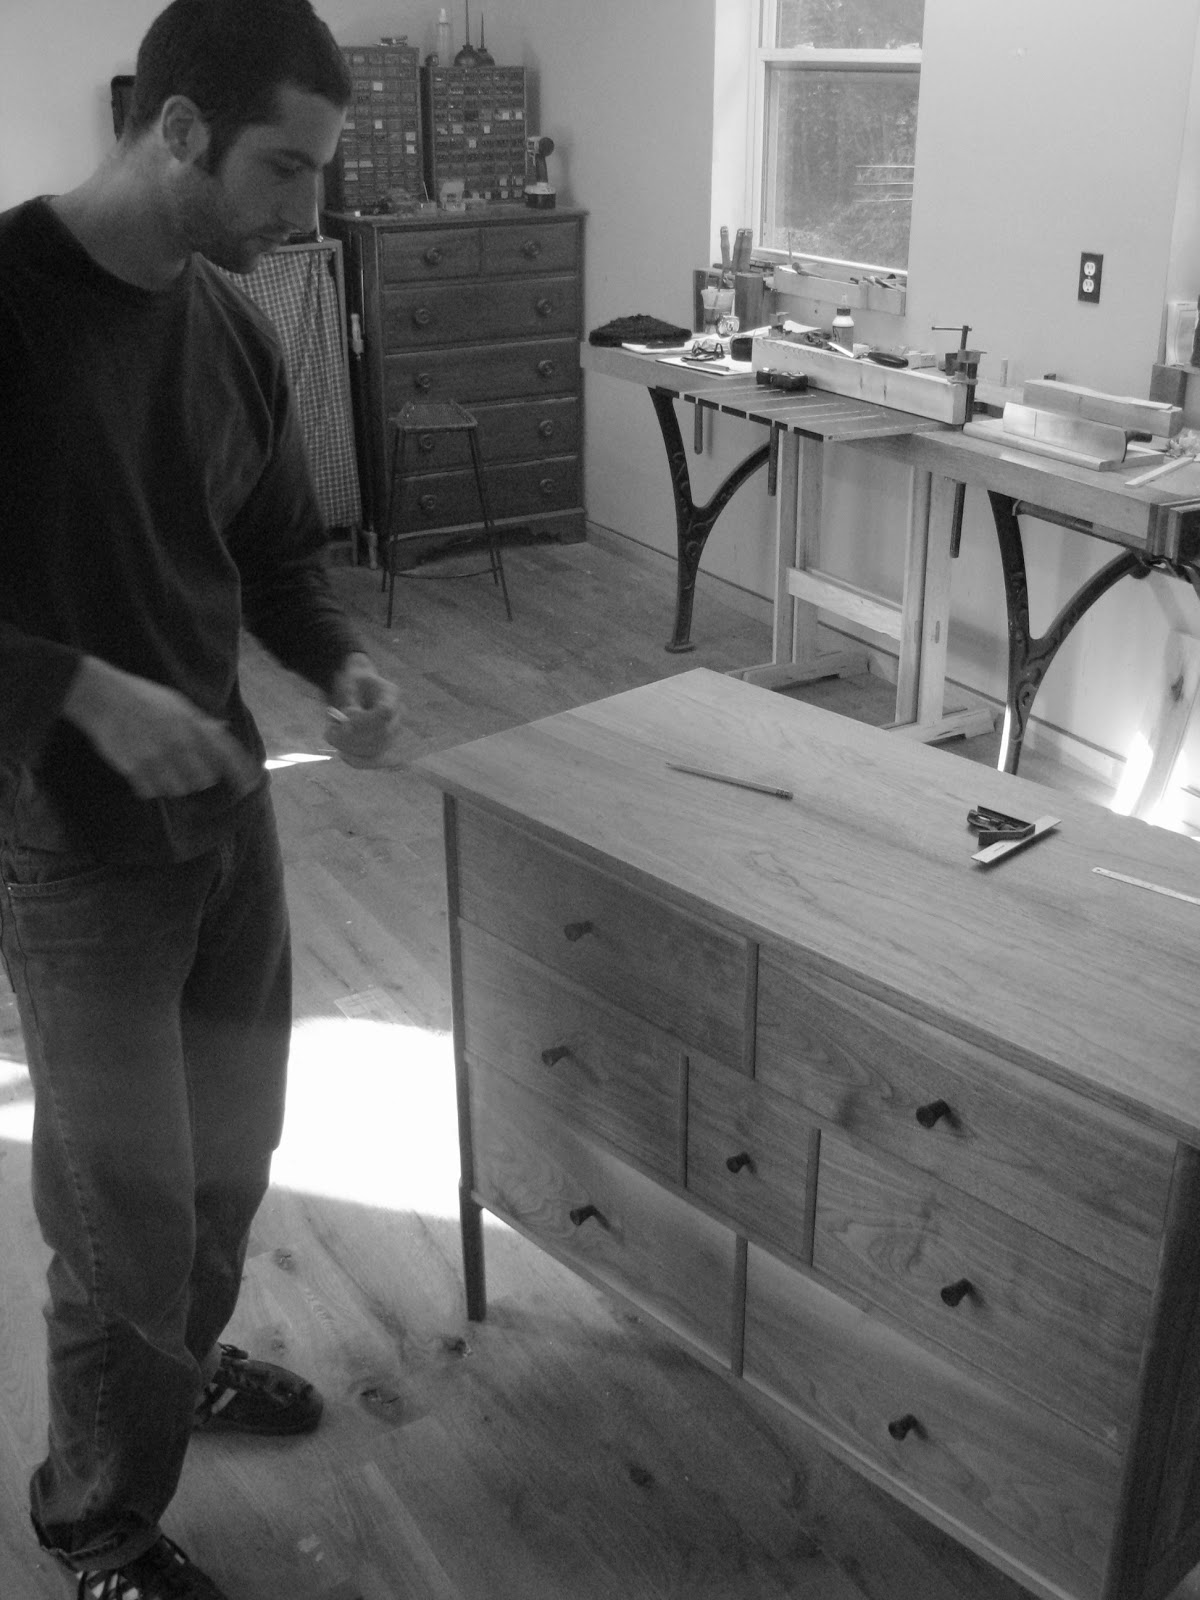
Here is one of the riven blanks in the shop.


   But, I shouldn't get too far ahead of myself. This wood is still too green to work, it will need to sit on the porch for a few months, I'll give it the summer off. Everyone should have a few months off in summer.


Sunday, April 29, 2012

Chest of Drawers Part 4: All Finished (except for the finish)


Sorry about the lack of posting for the last.... oh 4 months or so. I had some trim carpentry projects I was working on along with working on my own living space (we now have a bathroom door!) along with raising my son Linden (who just had his first birthday).  I will try and make up for it moving forward. I have a completed a few projects in the meantime that just need to be photographed along with a few projects that are in the process of being built that I will start documenting. Right now I am working on a rather involved piece of marquetry that is coming out nicely.

My brother and I are also working on a line of woodworking items that aren't as intense and are at a price point that is more... let's say e-commerce friendly. More on that later.

But back to the chest of Drawers I left you with.  I have finished the piece and plan on photographing soon, however there are some WIP photos I would like to share:


Decisions concerning knobs should not be decided at the last moment when building furniture and they are an especially important "detail" in a chest of drawers. 


  Composing a piece of furniture without any idea as to where the knobs will go is akin to writing a few paragraphs and then figuring out where to place the periods.  At best you will end up with something awkward.


Here is the back of the piece before we nailed on the pine back.


The Finished Piece


‎"To state it fairly, the old cabinet makers knew every worthwhile trick, and the study of antique furniture the the study of man's mastery over his material. The heavily shaped bombe commode with its flashing richness of intricate veneer-work may look almost impossible, but it was done with primitive planes and scrappers, a pot of homemade glue and a lump of heated iron. No doubt the old craftsmen had more time in which to develop their skills and we are in too much of a hurry, but in the end they achieved more than we can usually show. The moral, therefore, must surely be 'make haste slowly' "

-Ernest Joyce (Encyclopedia of Furniture Making)


Thursday, December 1, 2011

Quick Homemade Wooden Handplane

Being able to build your own handplanes not only adds versatility to your work it is an affordable alternative to buying a high quality plane. Also, building and maintaining your own tools just makes you a better woodworker period. The skill of the craftsman is directly correlated (as far as I can tell) to the intimacy that is cultivated between himself and his work. Building your own tools and using them is a great joy.

I pretty much learned how to build handplanes from David Finck's excellent book Making and Mastering Wood Planes. It is just an excellent resource for any serious woodworker who wishes to bring his artistry to the next level. Just go buy it if you haven't.

I have a slightly different design then David's and the planes, in particular, the planes I build don't use a chip breaker (because of the thickness of the blades eliminates "chatter" and also the fineness of the throats and cuts these planes take).

My only criticism of his book is that it doesn't really cover building any type of plane beyond the basic flat bottom planes (he briefly touches upon rocker bottom planes). In the future I may post on how I build some other types of planes.


Making a basic smoother. 
This one will be made of ash.  Blank starts at 6.5" wide and 2" thick.
I think it is a bit over a foot long.


The blank has been sawn in half and is sitting on edge.  
A previous smoother I built earlier is next to it for scale.


Halves are glued up.


Side cheeks are sawn off. The 2" iron I will be using is sitting on top.


This is the middle section of the plane.
 I have removed the sides and sketched on the bed angle.


I like laying the iron I will be using on the blank to make sure everything looks good


Here I have cut away the middle waste portion.
The front ramp is coved out to allow for easy shaving removal.
For an easy stress free glue up registration pins were drilled into 
the four corners before the middle was cut into pieces.


A dry fit.


Sorry I forgot to photograph the making of the cross pin.
It is very straight forward, just dowel a piece of wood into place with
enough room for a wedge to hold the iron.  Don't glue the dowel in, the cross pin
should be able to rotate.


Very roughly shaped.
I may refine the shape later... or I may not.


Notice the throat... quite tight.
This is the hardest part. 


Really planes are easy to build
#1:  Make sure the bottom is flat,
#2:  Make sure the blade is sharp and finely set,
#3 Lastly, make sure the throat is tight as possible.


I ended up opening the throat up a bit more from then the .002 pictured here.
I ended up filing this one to around .003-.004 inches open.
The shavings binded in the opening if I went any tighter.


The finished plane with wedge. The cross pin was slightly off so the wedge
had to be tapered to ensure a snug hold on the iron. The tapering
was easily accomplished with a handplane.


Some moderately thin shavings.
The shavings are ash so they look woodier then they actually are.


The smoother works!

I know this walk through was very rough. I glossed over the actually difficult moments in the building of this plane. By far the most critical/difficult part of plan making is accurately and finely opening the throat of the plane. I will probably post more thorough walk throughs of building a plane in the future.  In the meantime, the chest of drawers is complete and awaiting final photography.

Wednesday, November 16, 2011

Chest of Drawers Part 3: Drawers and Details

Now on to the drawers.


The tools used.


Cutting the tails.


When working with stock this thin, we chop the tails with a chisel.


Some of the completed sides


Chopping out the half blind dovetails for the front.


A neat fit.  Now for the backs.


Having the front of the drawer dry fit makes laying out the back pins easier


Laying out the back pins


Some of the drawers partially assembled


Now that the drawers are glued up the joints are hand planed flush.
This simple bench-hook with a supporting sawhorse underneath
 makes awkward clamping unnecessary.


We didn't have to use any sand-paper on this piece... it is all blade finished.


The drawers are fit by handplane using the same bench-hook set up.


Ian turned the knobs.  (He always gets the easy jobs.)


Next up.... the top, details, and finishing.